Gns3 As A Server On Linux
11 Aug 2019 - Omar N
GNS3 is an astonishing tool to emulate Cisco network topologies. But if it is done as a basic installation on a Windows computer; GNS3 can start consuming high amounts of resources when the transition from simple to more complex network topologies happens, and it wouldn’t be possible to setup advanced switching operations.
One solutions, to avoid the issues mentioned. It is to install GNS3 on Linux as a server and then connect a GNS3 client from any other computer running Windows or Mac.
Therefore, this document will show how to setup GNS3 as a server on Ubuntu and GNS3 as a client on Windows in more detail than the official documentation.
Pre requisites
It is fundamental to have basic experience on:
-
Using Packet Tracer and GNS3 on Windows or Linux with basic Routing and Switching configuration.
-
Installing Linux OSes.
-
Being a CCNA candidate.
-
Configuring a couple of cisco routers and switches.
Installing Ubuntu Server 16.04 LTS
Even though Ubuntu released its 18.04 LTS version, the official GNS3 documentation suggest installing a fresh Ubuntu 16.04 LTS server. Thus, it is recommended to follow the next steps.
Go to Ubuntu and download the appropriate image according to your CPU architecture. For example for a Core i5 (AMD64)
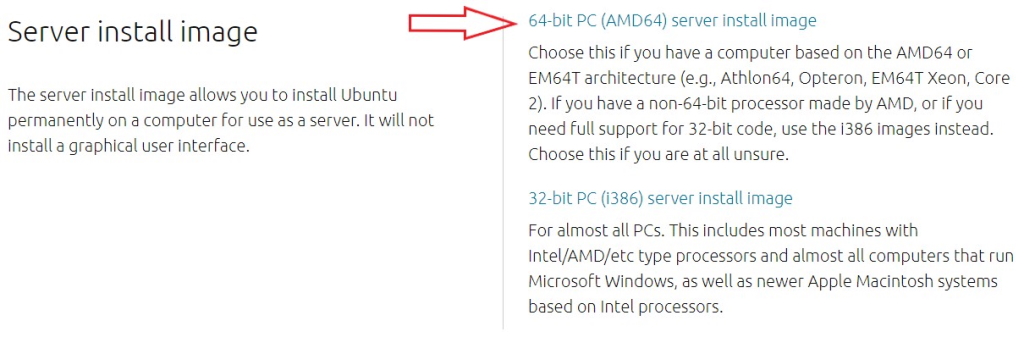
Example for Intel Corei5 AMD64
It is a good option to create a bootable USB Ubuntu Server with Rufus
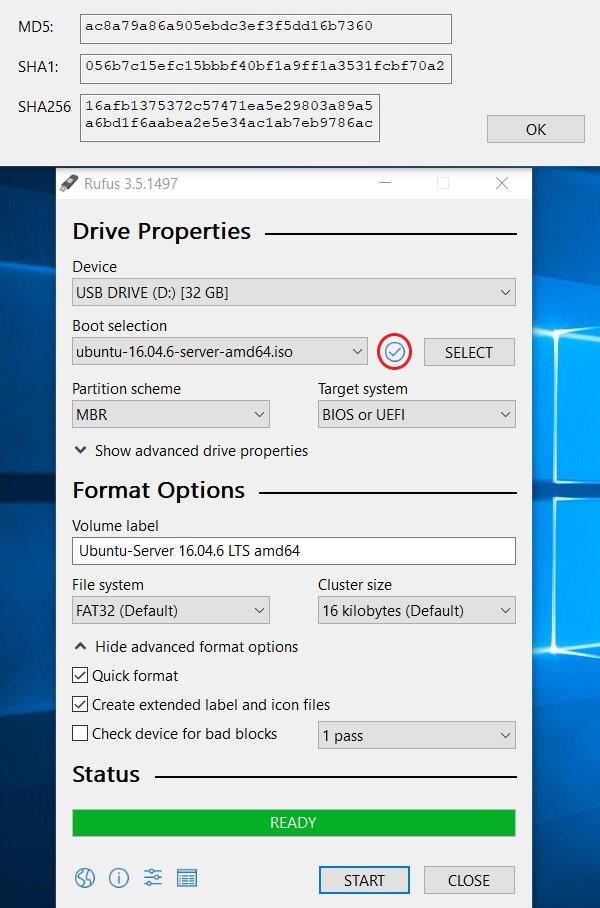
Get the hash values from Rufus
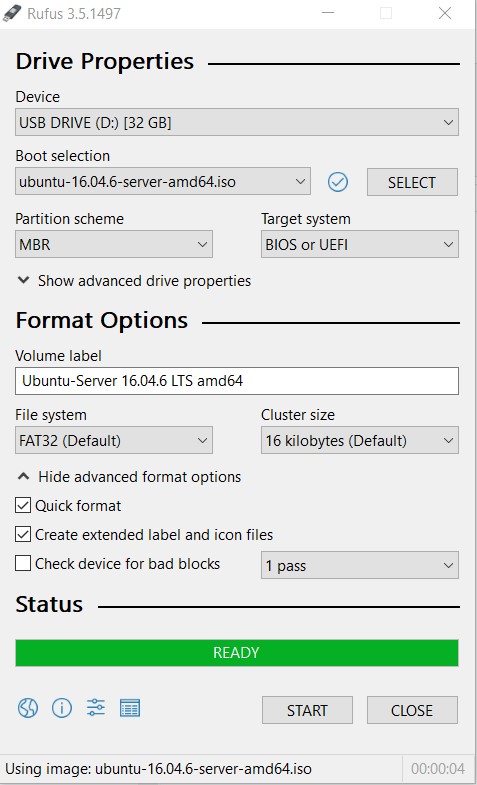
Rufus default options
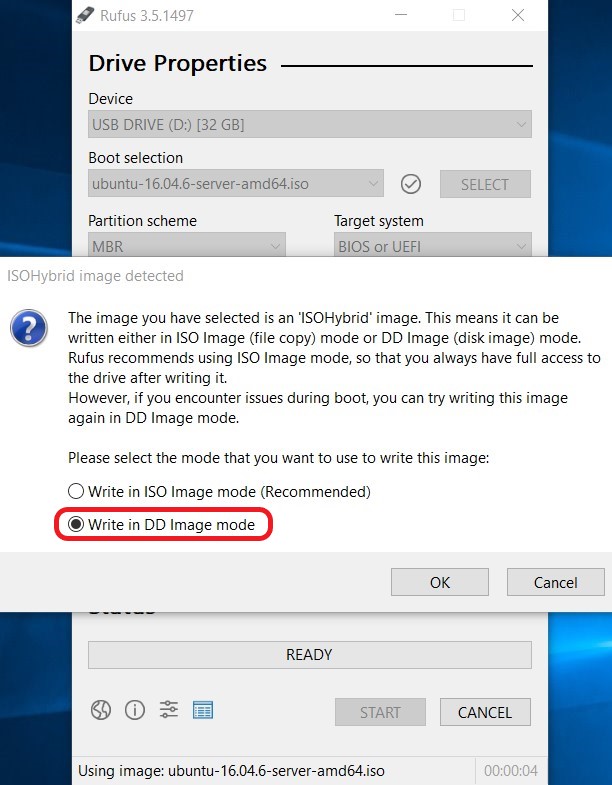
DD image mode
Start Ubuntu Installation. Follow the official documentation tutorial for Installing Ubuntu Server 16.04. The main tips for a correct installation are:
-
Make sure to have Internet connectivity
-
Be very careful with disk partitioning
-
Choose NO AUTOMATIC UPDATES
-
Select standard system utilities and OpenSSH Server software
After the installation has finished. Update and Upgrade the new fresh Ubuntu Server
sudo apt-get update
sudo apt-get upgrade
sudo reboot
GNS3 Server Installation
Installing as a root
cd /tmp/
sudo curl https://raw.githubusercontent.com/GNS3/gns3-server/master/scripts/remote-install.sh > gns3-remote-install.sh
sudo bash gns3-remote-install.sh --with-openvpn --with-iou --with-i386-repository
sudo reboot
Check GNS3 server version
gns3server -v
Finally, download the VPN certificate from /root/client.opvn
Install and configure OpenVPN on Windows
Go to openvpn.net and download the appropriate file
Make sure the OpenVPN configuration file client.ovpn has the right server IP address
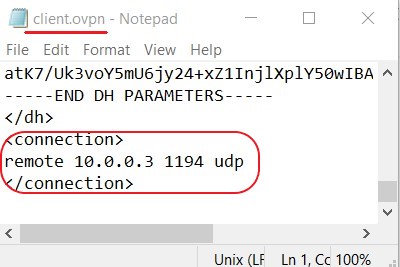
OpenVPN configuration file
Import configuration file
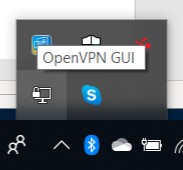
Go to Hidden Icons and right click on OpenVPN
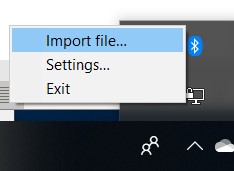
Select Import file
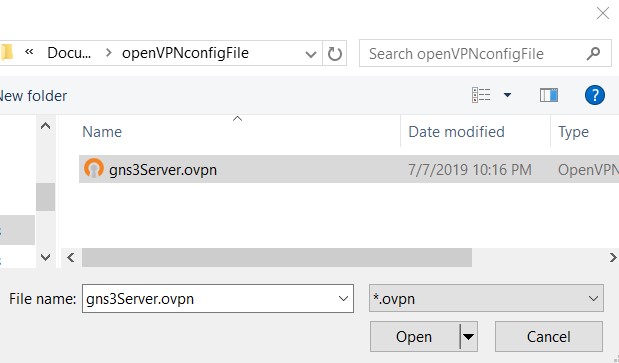
Look up the configuration file
Notice: To be consistent the name of client.ovpn file was changed to gns3Server.ovpn, before to import
Make a VPN connection
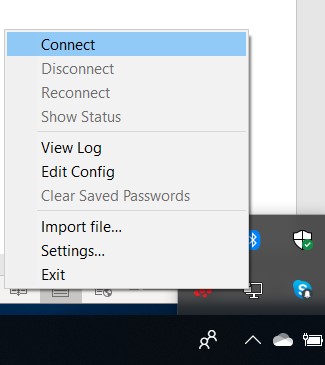
Make a VPN connection
The link http://172.16.253.1:3080/ should work
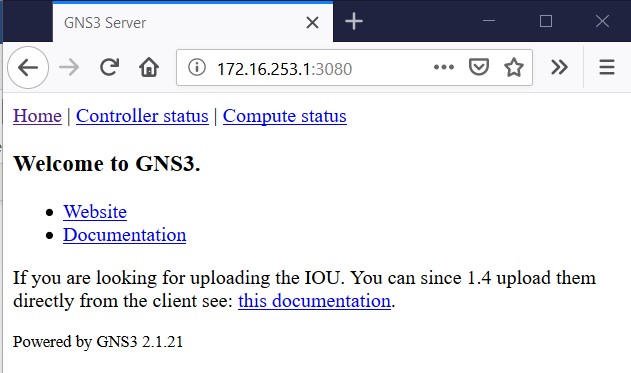
Making sure the VPN connection is working
Set Up GNS3 Client on Windows
-
Go to gns3 and download the version for windows
-
Install GNS3 with default options
-
Start and configure GNS3 as a client
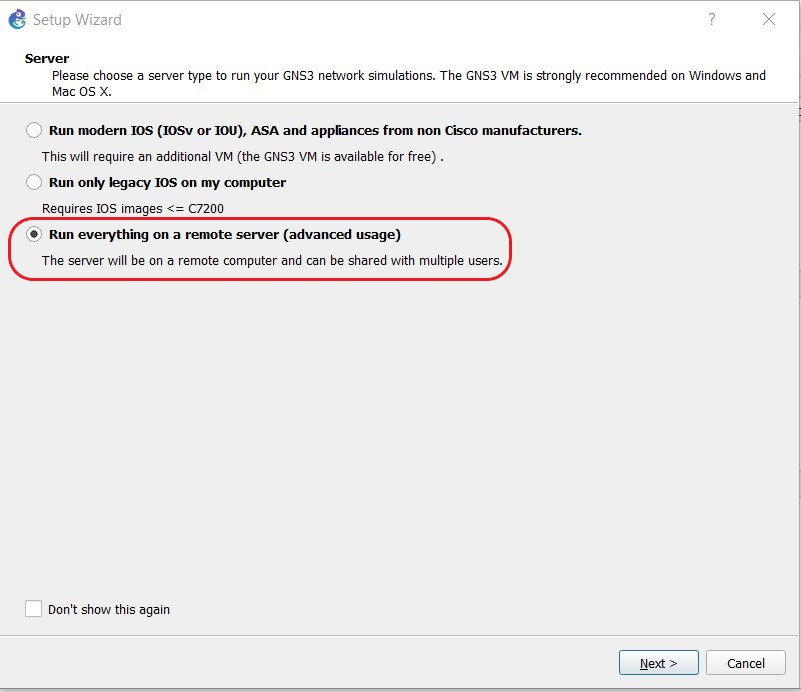
GNS client configuration
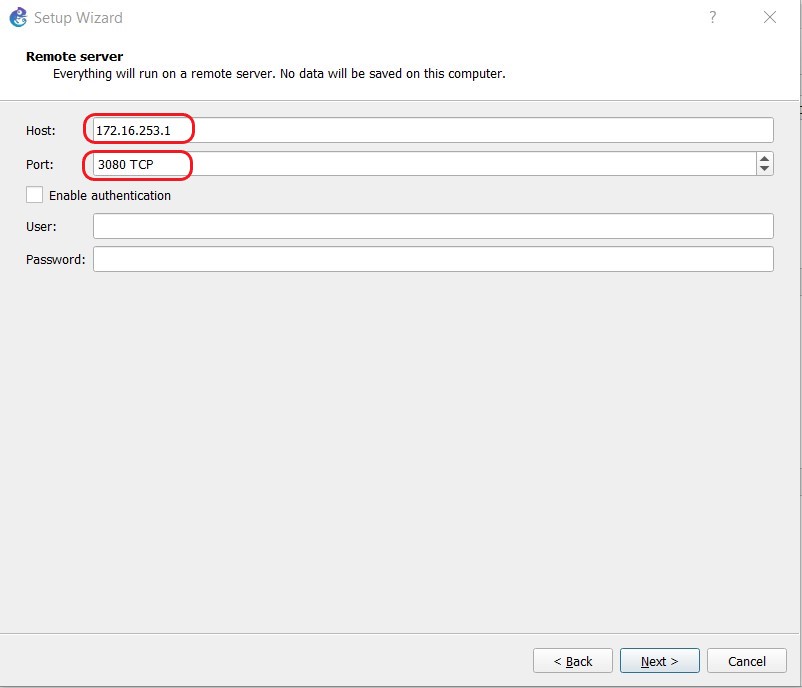
Host is the IP address of the GNS3 server
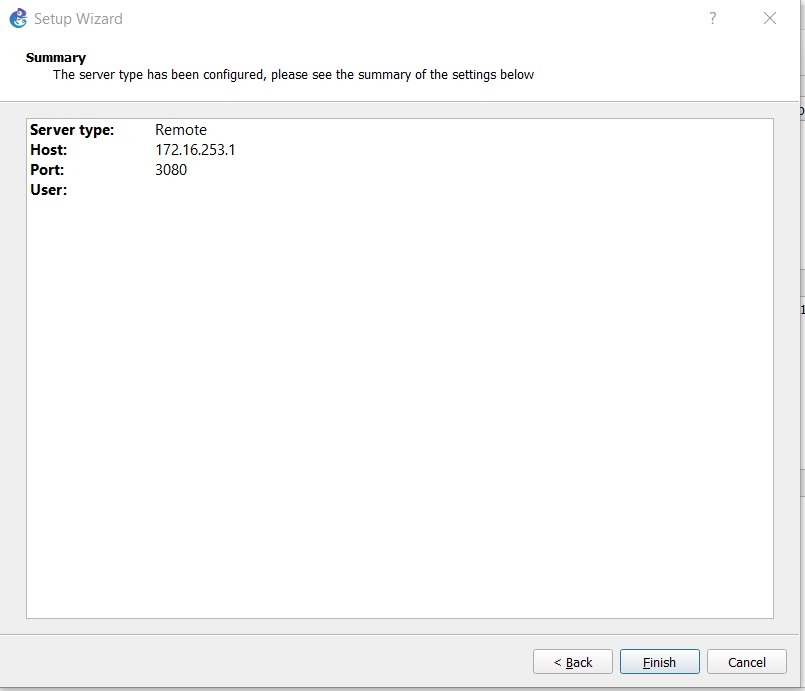
GNS3 client summary configuration
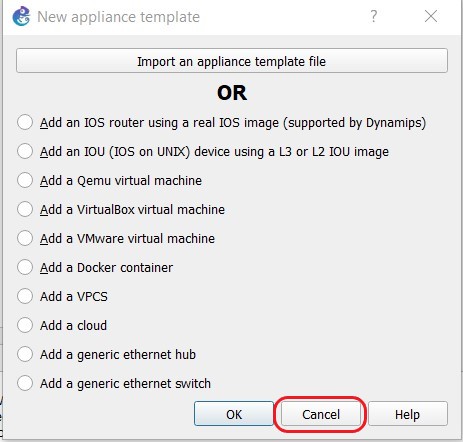
Add later appliances
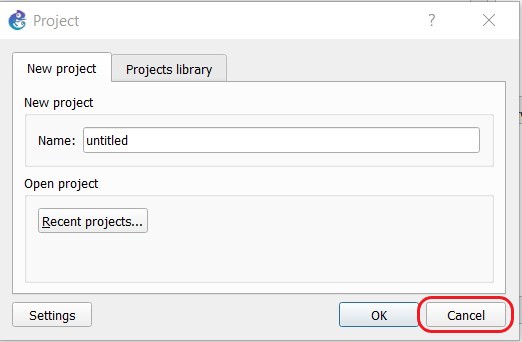
Add later a project
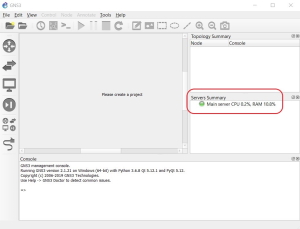
Main server should be with green light
Conclusions
The advantages having GNS3 as a server on Linux are:
-
It is possible to configure almost any advanced Routing and Switching lab. Therefore, it is better than having a full hardware stack of routers and switches.
-
It speeds up the process of jumping from one topology to another. The same process with real cisco devices can take a much longer time
-
It has much more IOS commands than Packet Tracer
-
It is truly stable
-
It doesn’t consume a large quantities of computer resources as it does on a single Windows installation
-
It is possible to lab advanced switching
-
Very useful for CCNA and CCNP candidates
Appendix and Updates
If it is needed to change network configuration on Linux
sudo vim /etc/network/interfaces
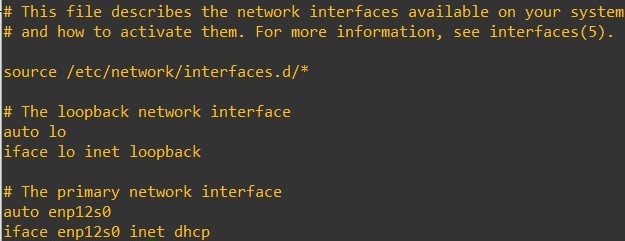
Ubuntu DHCP
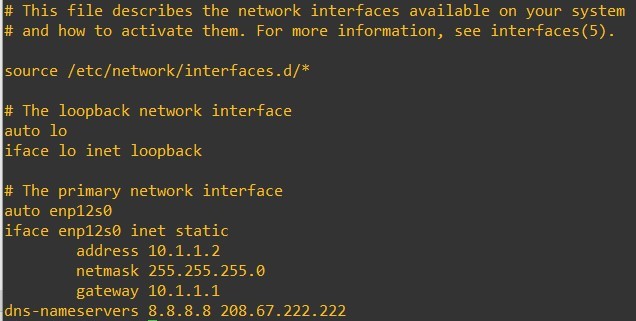
Ubuntu IP static
